Originally published January 22, 2018
Last year, for the first time in my life, I saw the northern lights. It was an amazing experience and being a photographer I wanted to capture it. My photographs did not turn out that great, but I have learned a few things in the process, and that should allow me to to take better ones next time, if I ever have another chance at it.
The best way to take great aurora picture is to be prepared. Let us start with the basics.
First, to see the best auroras, you need to be close to the Arctic or Antarctic circle (within a few degrees latitude is the best). Auroras occur in both hemispheres and are equally spectacular, but it is far more practical to see them the northern one. There are plenty of cities with airports and developed tourist infrastructure close to the Arctic circle, but only penguins live at equivalent latitudes in the Southern hemisphere. Next, you will need darkness to see the aurora, so you need to visit those places during mid to late fall and winter months. Come in the summer, and you will see midnight sun instead. You will also need to get away from light pollution of the cities, but, fortunately, the area around the Arctic circle is sparsely populated and cities are not big, so you can find great spots just outside of them. You will also need clear skies, so check the local forecast before heading out. And finally, you will need an aurora, and there are forecasts for them as well.
For me, the best location was Iceland. It is just south of the arctic circle, easy to get to from my home base and easy to travel around, and offers plenty of darkness as even its largest city is rather small by world standards. I have used the forecast from the University of Alaska Fairbanks. They have handy maps for different parts of the world and you can select them at the bottom of the page. I was also checking cloud forecast from the Icelandic Met Office.
But in the end, it came down to pure luck. We planned to drive out of Reykjavik one night to look for auroras, but we could not find a spot that was dark enough and the sky was overcast. Next day, after spending most of it exploring the waterfalls, glaciers and other sights near the infamous Eyjafjallajökull volcano, our rental car announced with an annoying chime that its engine was overheating just as we started heading back to Reykjavik. Fortunately, the rental company quickly dispatched a tow truck with a replacement, but it was well past sunset when we finally got into the new car and started heading back. At that time of night, the Ring Road in that part of Iceland is practically deserted, so we were in total darkness, save for the occasional lights from lonely farmhouses. And some strange light in the sky, which I thought was just light pollution from some town reflecting from the clouds. Fortunately, my wife thought differently and convinced me to pull over and get out of the car. As we got out, it was immediately obvious what we were looking at. Yes, it was the aurora! In reality, the northern lights look a lot different from the way they appear in photographs or on video. They are much fainter and paler, barely having any greenish tint at all, but they do “dance” and move through the sky. Honestly, I may have looked straight through them if I just randomly glanced at the sky and was not looking for them specifically. But the experience is mesmerizing, and we could have easily spent hours watching them have we not been tired, jet lagged and did not have a long drive a head of us.
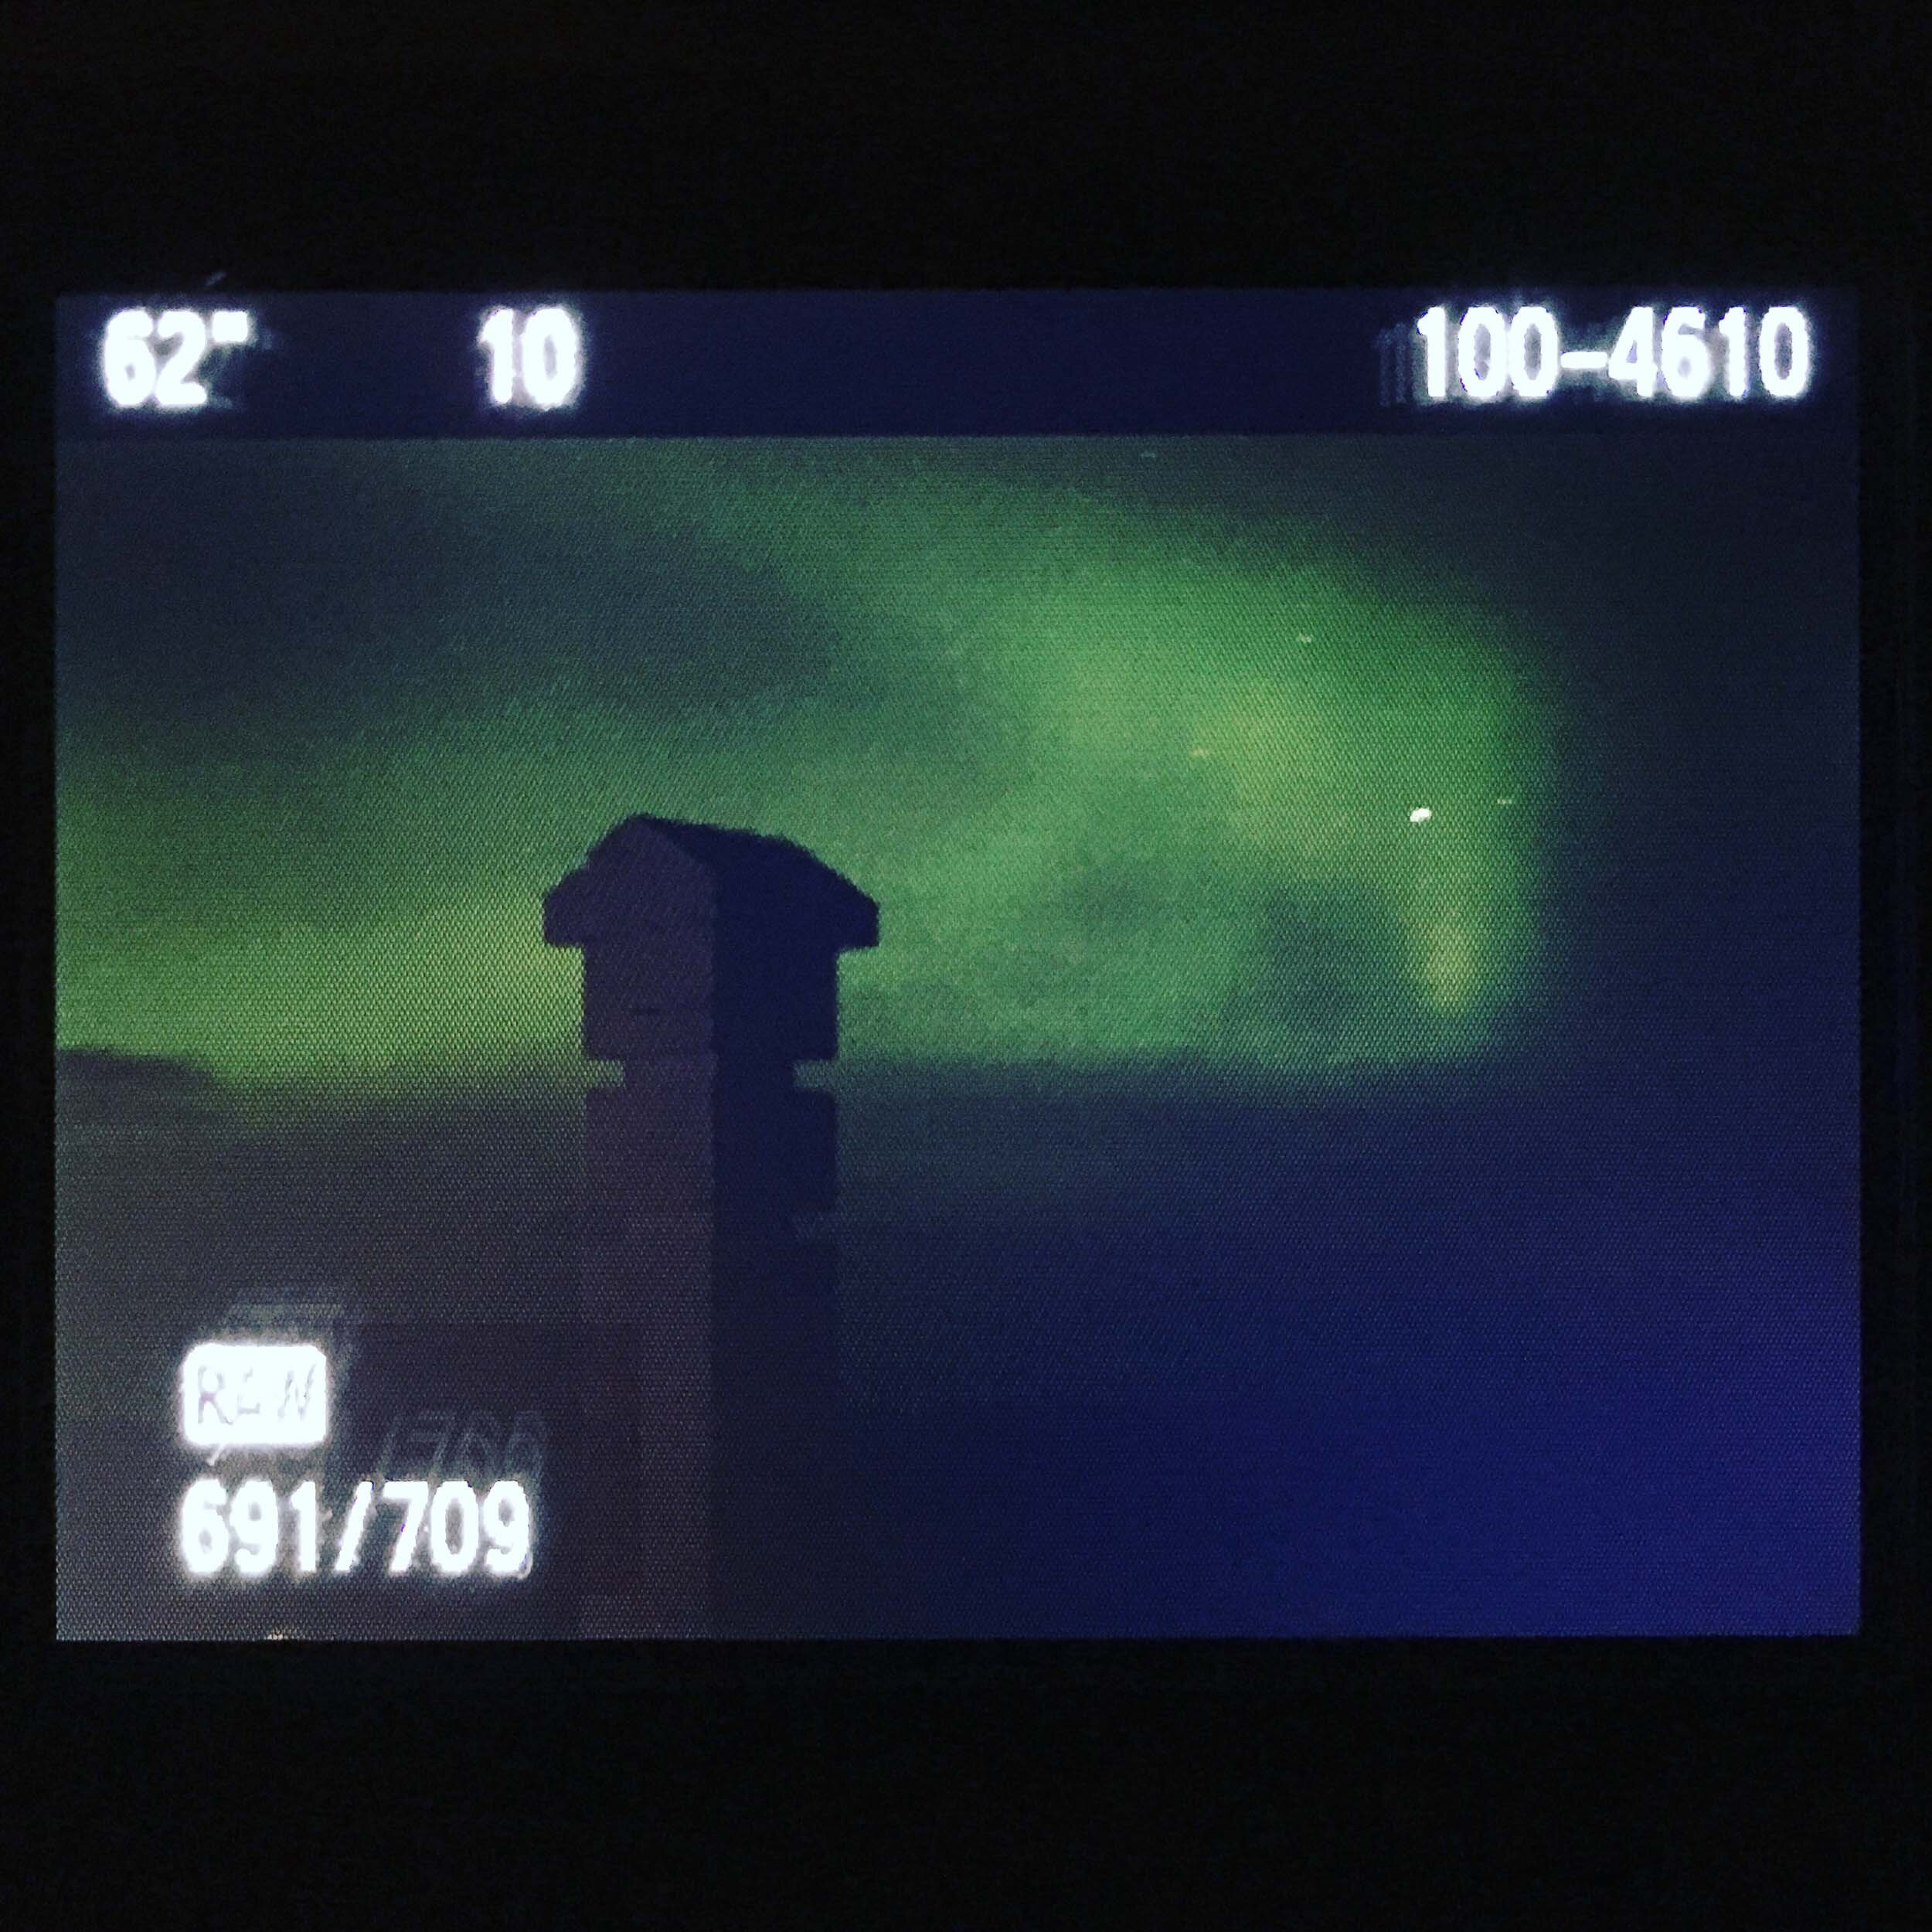
I quickly got out my camera, set up a tripod and started shooting. Actually, the technical aspects of photographing the aurora are not that difficult to master. With a digital camera, just put it on a tripod, set the ISO high (at least 400), set the aperture for capturing medium to deep depth of field (mine was set to 10, but 5.6 probably would have been just fine) and focus on infinity. Then, experiment with the exposure (using bulb setting is best) and check the results. It should probably be at least 5-10 seconds, but if you have your shutter opened for more than 15 seconds, you will start getting star trails, which you may or may not want. I used a remote shutter release, but if you do not have one you can just use the timer mode to eliminate camera shaking. Because of the long exposures required, you will not be able to take picture of the aurora with your phone. The best you can do is take a picture of your camera’s screen showing the photograph, like the one below that I have shared on my Instagram.
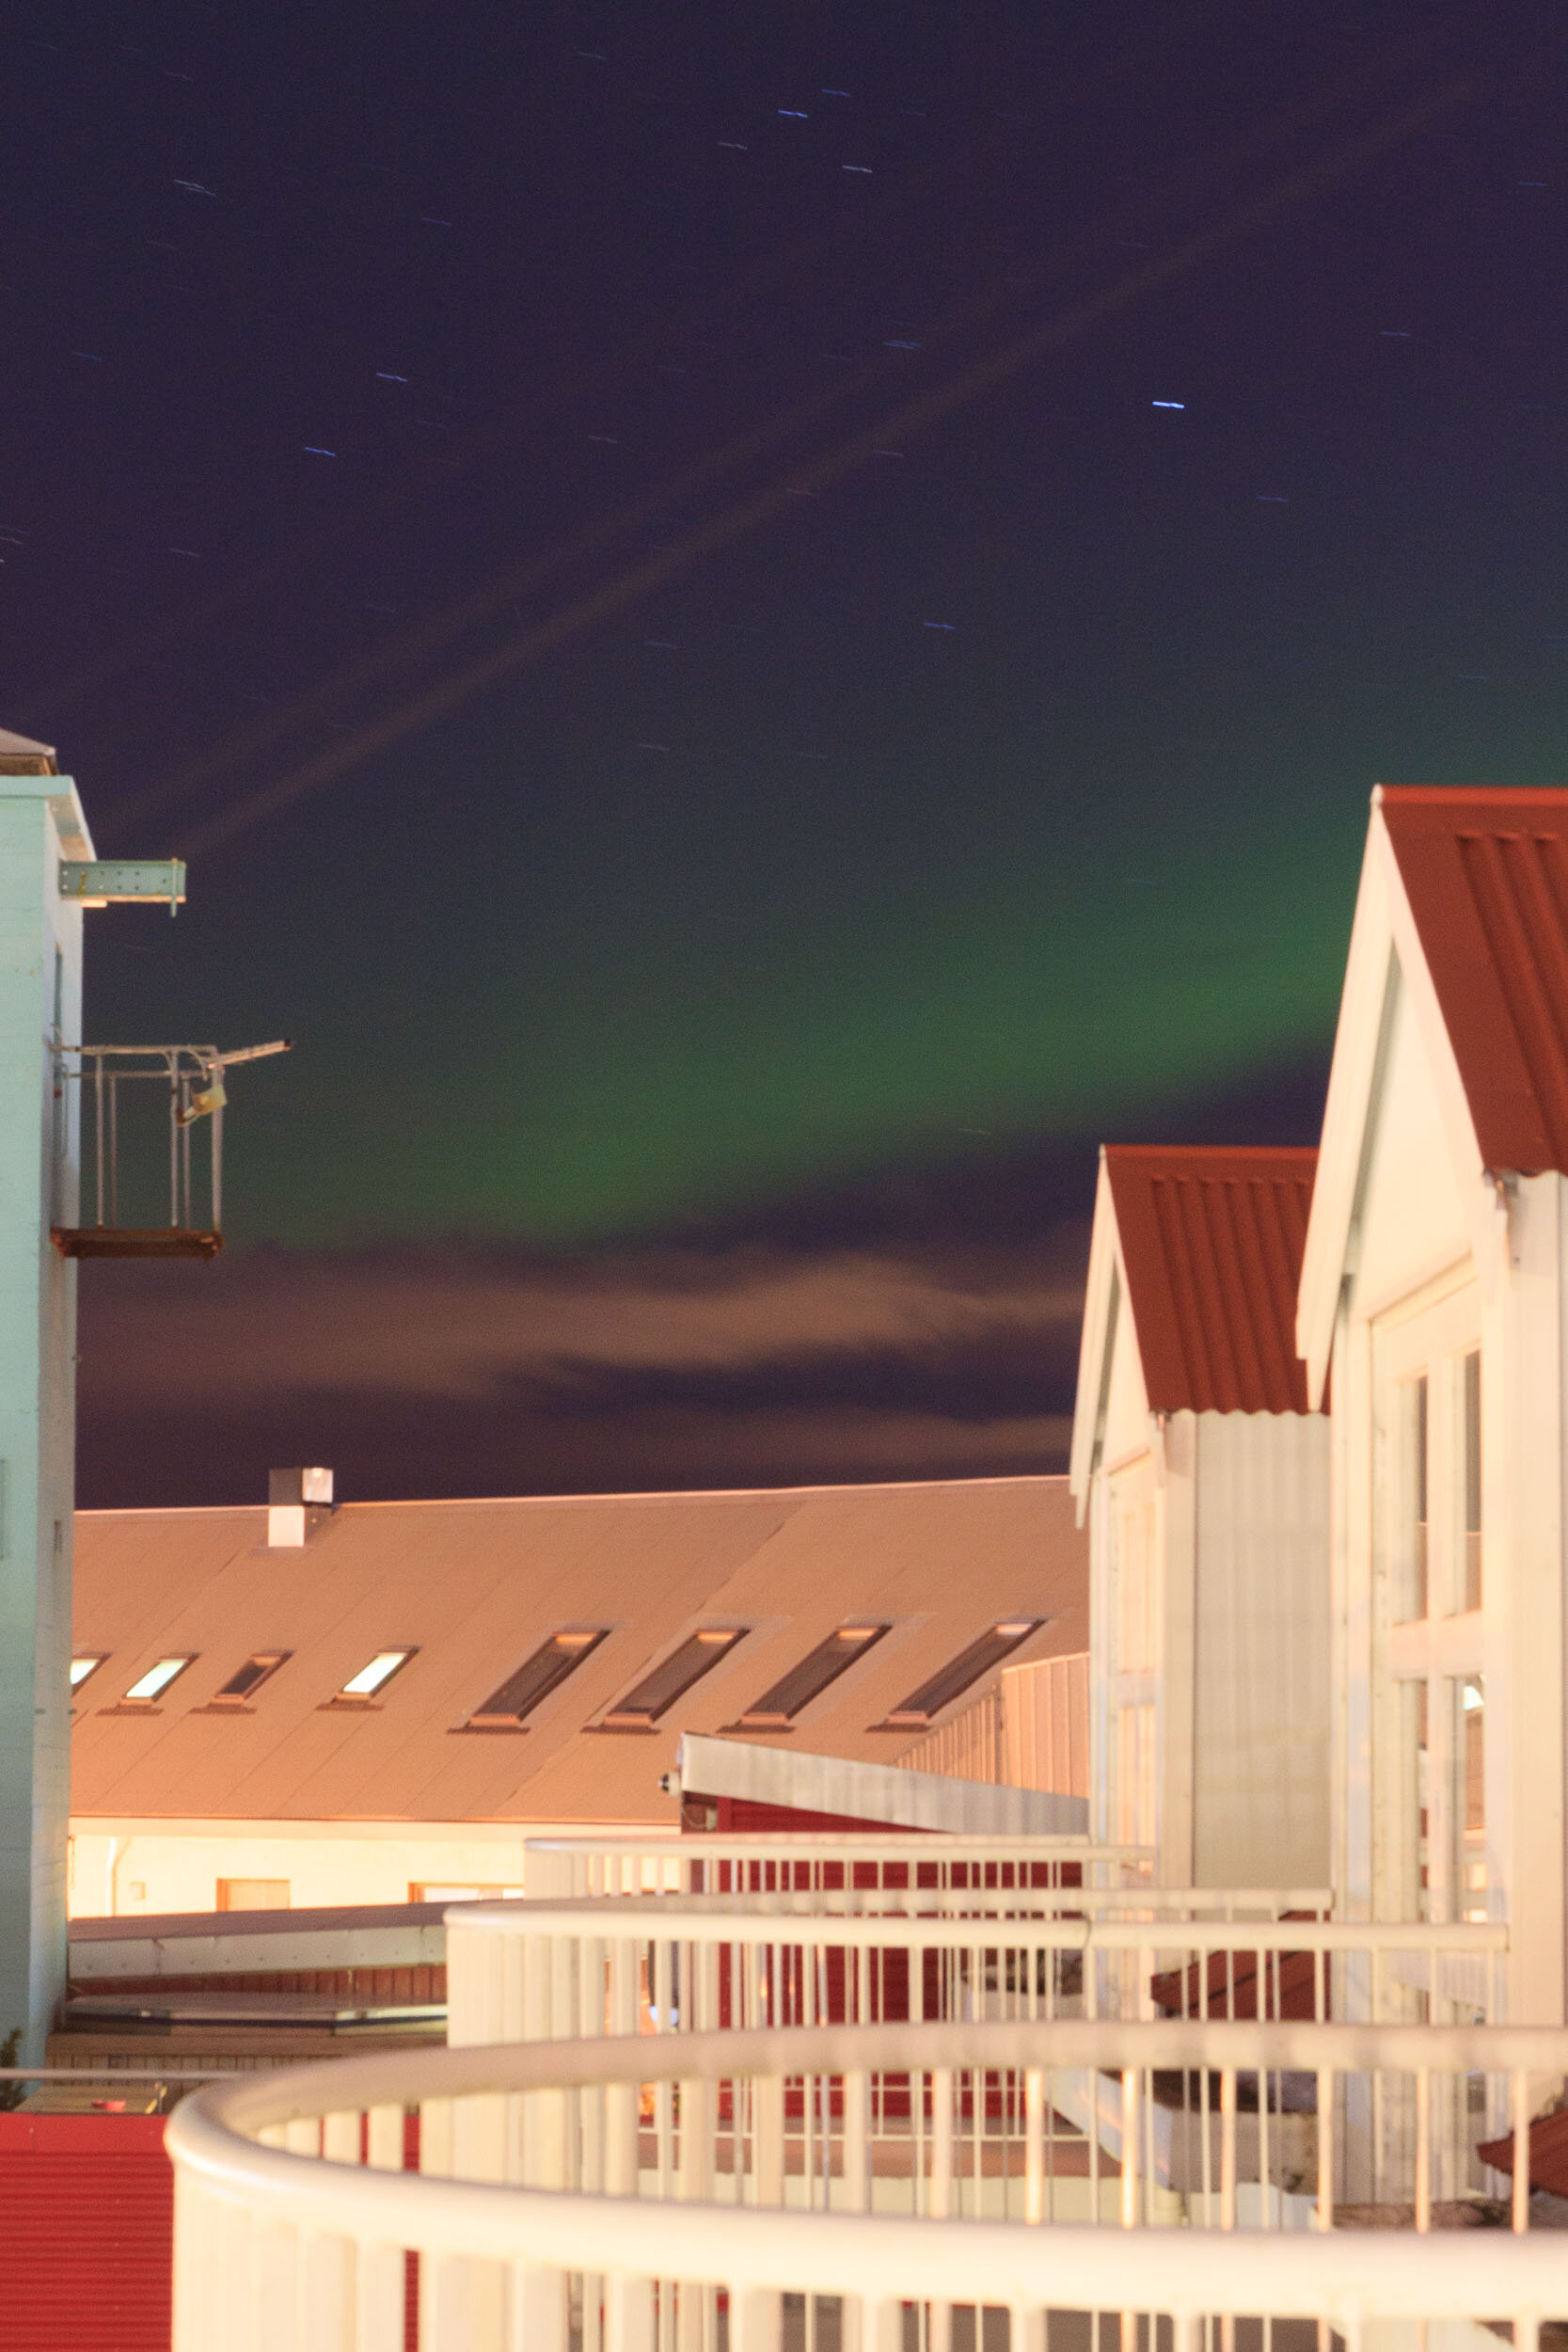
Artistically, you should use a wide angle lens for best results and try to get some dramatic framing, foreground or background, like silhouettes of trees, buildings, mountains, etc. You can even paint the foreground with a flashlight if your exposure is long enough. I must have felt really tired and excited at the same time, so I was not thinking clearly, and never swapped my 50mm lens. And I thought that the gatepost of the farm driveway where we stopped was way more exciting than it really was. Because of that, I only got a small piece of the sky in my frame, and it does not show the aurora shapes very well, it just looks like the sky is glowing green. Because we were standing on the side of the road, that gatepost got painted by the headlights of the passing car during one of the long exposures. And I used exposures of 30 seconds or more, so the stars appear as trails, but of the distracting kind. When we got back to Reykjavik, the auroras were bright enough to see from the city, and I shot a few more pictures from our balcony before going to bed. As I said, I am not particularly proud of these photographs, but it was a learning experience and I hope next time I will do better. And seeing the aurora again is now definitely on my bucket list.


I have marked a couple of places on this map that are close to Reykjavik and the airport in Keflavik and may be good places to watch and photograph the auroras. These are very approximate locations, and I would strongly recommend visiting them in daylight first, to familiarize yourself with the area and find a safe place to park your car off the road. My first choice would probably be Hvitanes, on the shores of Hvalfjörður, as it is fairly remote and the views are spectacular. Also, make sure that you dress warmly since you will be standing outside in cold weather for a long time, and learn how to operate your camera in the dark and with your gloves on. And having a thermos with your favorite warming beverage on hand can significantly improve your northern lights viewing and photographing experience!
